Installing and configuring a P6 Led Video Wall involves several steps to ensure proper setup and functionality. Here is a detailed guide on how to install and configure a P6 LED video wall:
Planning and Preparation:
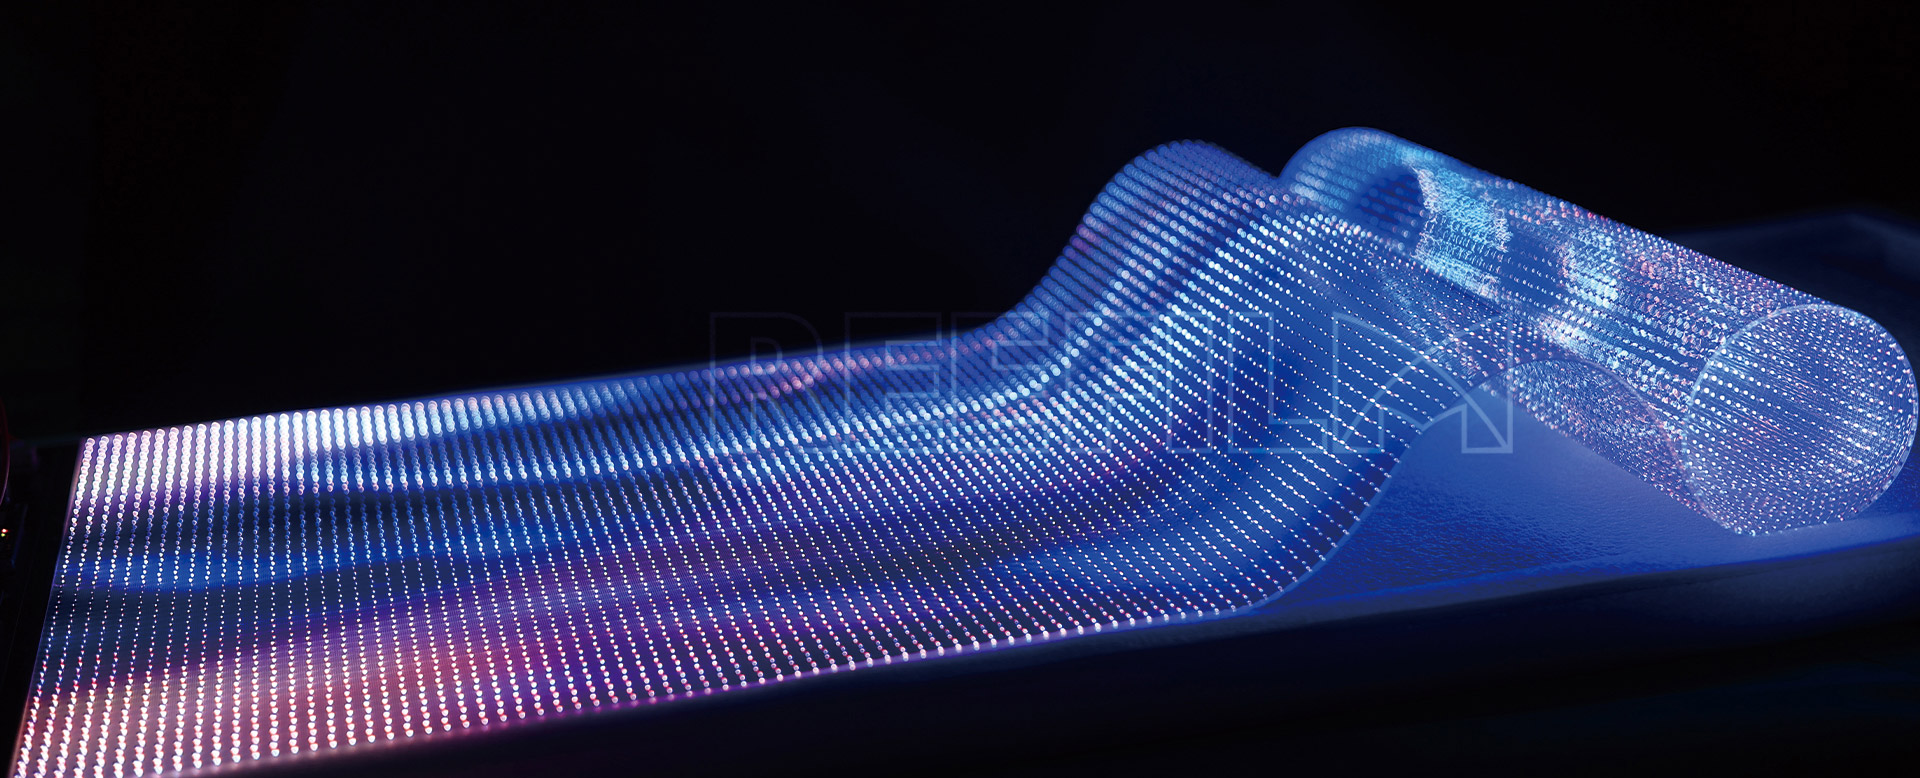
Determine the location: Select a suitable location for your P6 Flexible Led Display, considering factors such as visibility, space availability, and structural support.
Measure the area: Take precise measurements of the installation area to determine the required number of LED panels and their arrangement.
Power and connectivity: Plan the power supply and data connectivity requirements for the video wall, ensuring adequate power outlets and network connections are available.
Mounting the LED Panels:
Prepare the mounting structure: Install a secure mounting structure, such as a wall bracket or floor stand, capable of supporting the weight of the LED panels.
Align the panels: Ensure the mounting structure is level and align the LED panels accurately for a seamless display. Use a spirit level and measuring tools for precise alignment.
Secure the panels: Fix the LED panels to the mounting structure using appropriate mounting brackets or screws, following the manufacturer's instructions.
Wiring and Connections:
Power connections: Connect the power cables of the LED panels to the designated power outlets, adhering to safety guidelines and local electrical regulations.
Data connections: Establish data connections between the LED panels using video cables or network cables, depending on the video wall controller and panel specifications.
Test the connections: Verify the connectivity between the LED panels by sending a test signal to ensure proper communication and synchronization.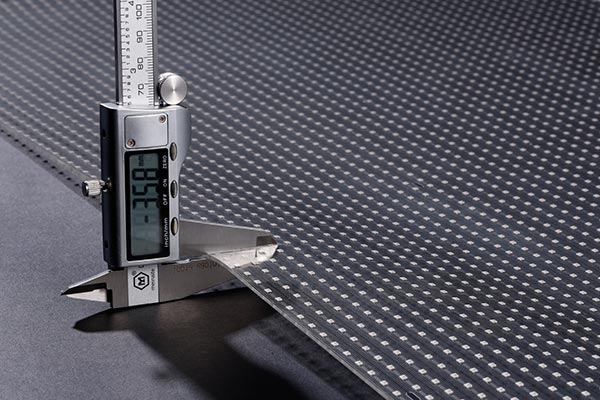
Video Wall Controller Setup:
Install the video wall controller: Connect the video wall controller device to the LED panels using the appropriate output ports. Typically, the controller connects to the first panel in the video wall series.
Configure the controller: Access the video wall controller's interface and configure the settings according to the specifications of your P6 Led Screen. This may include screen resolution, aspect ratio, and video input settings.
Calibration and Testing:
Calibration: Calibrate the LED panels to ensure consistent color and brightness across the entire video wall. Follow the manufacturer's instructions or utilize any calibration software provided.
Testing: Display test patterns or content on the video wall to verify the functionality, image quality, and uniformity of the LED panels. Make any necessary adjustments in the video wall controller settings or panel configurations.
Content Management:
Content creation: Create or adapt content specifically for the P6 Video Wall, considering the resolution and dimensions of the display.
Content distribution: Determine the method for distributing content to the video wall, whether through a media player, network streaming, or direct connection to a computer or content management system.
Maintenance and Troubleshooting:
Regular maintenance: Follow the manufacturer's guidelines for regular cleaning and maintenance of the LED panels, including dusting and checking for any loose connections.
Troubleshooting: If any issues arise with the video wall's performance, refer to the user manual or contact the manufacturer's technical support for troubleshooting steps.
Remember to consult the specific installation and configuration instructions provided by the manufacturer of your P6 LED video wall, as different models may have slight variations in the setup process.
Copyright © 2026 Guangdong Leiyi Optoelectronics Technology Co., Ltd All rights reserved. Privacy Policy


